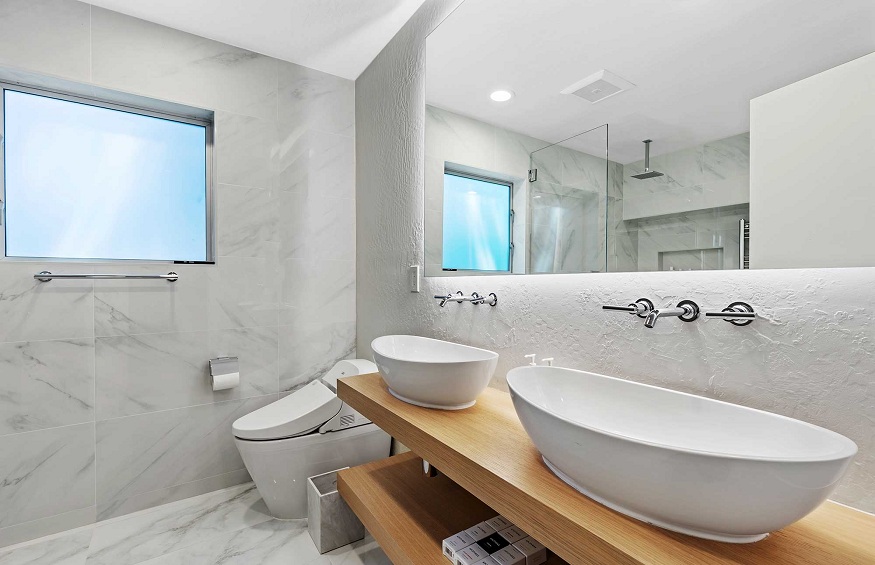
Bathroom drywall water damage is a common issue that many homeowners encounter. This problem typically arises due to leaks, condensation, or other moisture-related issues within the bathroom. While it may seem like a minor concern at first glance, promptly addressing bathroom drywall water damage is of utmost importance. Neglecting this issue can lead to more extensive and costly repairs, potentially compromising the structural integrity of your bathroom and home. Read on as the post provides practical solutions to tackle bathroom drywall water damage effectively, ensuring your bathroom remains a functional and aesthetically pleasing for years to come.
Assessing the Damage
Locating and Stopping the Water Leak
To tackle bathroom drywall water damage, start by swiftly identifying and stopping the source of water intrusion. Begin with a close inspection to pinpoint the leak’s origin. This may involve checking for damaged seals, loose connections, or faulty fixtures. Once located, immediately fix or seal the issue, preventing further water infiltration into the drywall.
Assessing the Extent of Damage
After addressing the source of the leak, it’s essential to gauge the extent of the damage to your bathroom drywall. Examine the affected drywall for signs of moisture, warping, or discoloration, indicating potential issues. Additionally, inspect the surrounding areas for any structural concerns caused by prolonged exposure to moisture. This thorough assessment will guide your repair efforts and help ensure a successful DIY restoration of your bathroom drywall.
DIY Repair Techniques
Gathering the Necessary Tools and Materials
To tackle bathroom drywall water damage, you’ll need a set of essential tools and materials: a utility knife, putty knife, drywall saw, sandpaper, joint compound, drywall patches, primer, and paint. These items will be your trusty companions throughout the repair process.
Removing Damaged Drywall
Start by ensuring your safety with goggles and a dust mask. Next, carefully cut away the damaged drywall with a utility knife, not harming the surrounding area. Once the damaged section is free, remove any remaining debris with a drywall saw. This step sets the stage for a clean slate.
Drying and Sanitizing the Area
Properly drying and sanitizing the affected area is paramount. Use fans or a dehumidifier to dry the space thoroughly. Mold and mildew can thrive in moist environments, so a mix of water and white vinegar will help sanitize the area, preventing future issues.
Patching and Mudding
Now, it’s time to patch things up. Apply a drywall patch to the hole or damaged area, securing it with a joint compound and a putty knife. Smooth it out, feathering the edges to blend seamlessly with the surrounding wall. Repeat this process if needed, allowing each layer to dry before applying the next.
Sanding and Priming
Achieving a smooth, paint-ready surface involves sanding the patched area until it’s flush with the wall. Start with coarse sandpaper and progressively move to finer grits. Finish by applying a primer to the repaired section, ensuring it’s ready for a fresh coat of paint to restore your bathroom’s beauty.
Preventing Future Damage
Addressing the Root Cause
To shield your bathroom drywall from water damage in the future, it’s essential to tackle the root cause head-on. Start by examining potential weak points, such as leaky fixtures or worn-out seals. Seal any gaps and replace faulty components promptly. Additionally, consider installing waterproof materials like moisture-resistant drywall or tiles in susceptible areas. Regularly inspect plumbing to spot and resolve leaks early, preventing water intrusion before it wreaks havoc.
Maintenance Tips
Keeping your bathroom dry and damage-free requires consistent maintenance. Routinely check for signs of wear and tear on caulking and grout and replace them if they’re deteriorating. Ensure proper ventilation by cleaning exhaust fans and keeping them in good working condition. Regularly inspect the seals around your bathtub and shower, reapplying caulk to maintain a watertight barrier. Finally, cultivate a habit of wiping down surfaces after use to prevent moisture buildup, which can ultimately lead to costly water damage repairs.
Tackling bathroom drywall water damage is not just a matter of aesthetics; it’s about preserving the structural integrity of your home. Swiftly identifying and addressing leaks, assessing the extent of the damage, and employing effective DIY repair techniques are crucial steps in the restoration process. Moreover, preventing future harm is equally essential. You can safeguard your bathroom from recurring water-related issues by addressing the root causes and adopting a regular maintenance routine. Remember, proactive care today can save you from intricate and costly repairs tomorrow.
Publisher’s Details:
Save the Day Restoration
(866) 485-2057
savethedayrestoration.com
[email protected]
Upon tackling bathroom drywall water damage, it’s essential to understand the common causes of water damage. Identifying these issues early on can save you from costly repairs. Save the Day Restoration has an informative post on “7 Common Causes Of Water Damage And How To Spot Them” that can help you stay vigilant.
For top-quality water damage restoration services in Santa Clarita, CA, turn to Save the Day Restoration. Their expertise and dedication make them the best choice for restoring your property to its former glory.

