Installing a domestic oil tank might seem like a big job, but with the right prep, it’s manageable and smooth. Whether you’re replacing an old tank or starting from scratch, preparing your property properly makes all the difference. A little planning now prevents major problems later. From location checks to safety regulations, every detail matters. Let’s walk through everything you need to know to get your property ready for a domestic oil tank install.
Choosing The Right Location For The Tank
The location of your oil tank is more than just a convenience issue. It affects performance, safety, and even the lifespan of the tank. A well-chosen site makes future servicing easier and minimizes environmental risks.
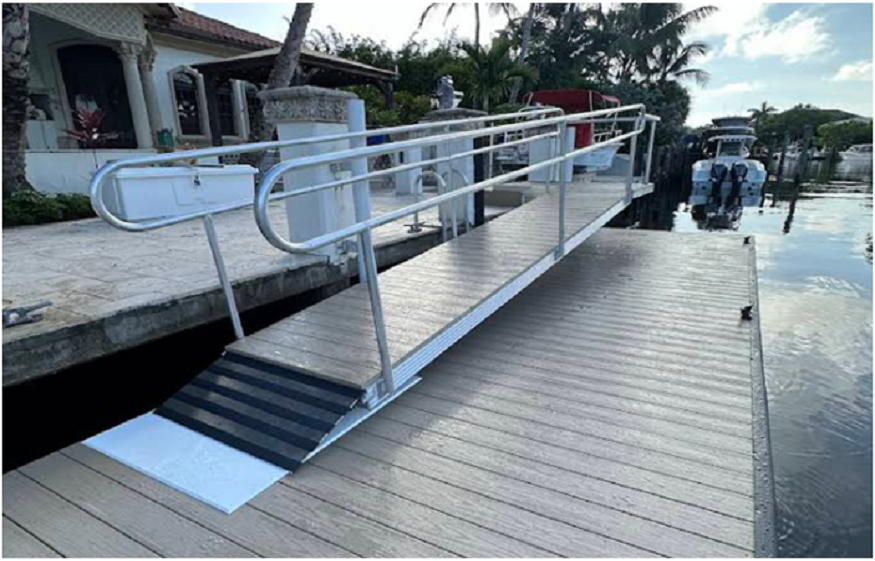
You’ll want a flat, accessible area away from drains, open water, or heat sources. Keep it visible but out of the way. Tanks shouldn’t be placed directly next to a house wall or under a window. Distance is key—most guidelines require at least 760mm from any boundary or structure. A domestic oil tank install technician can help you find the best spot that checks every box.
Preparing The Ground For Your Oil Tank Base
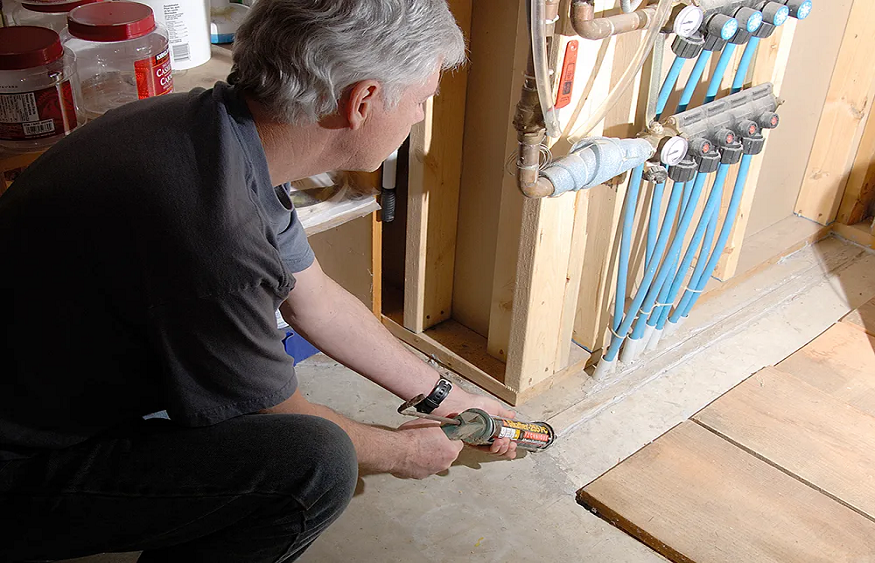
The base is one of the most important parts of a domestic oil tank install. It holds the weight of the tank, which could exceed a ton when full. An unstable base leads to leaning tanks, pipe damage, and potential oil leaks.
Read More: How Modular Wine Racks Revolutionize Storage: Beyond the Cellar Door
Most tanks need a concrete or paving slab base that’s completely level and larger than the tank footprint. Avoid using wooden decking or loose gravel, as these won’t support the tank evenly. If the base cracks or shifts, so can the tank. Take time to get this part right—it supports everything else.
Clearing Access For Oil Deliveries
Once the tank is installed, oil needs to be delivered regularly. If access to the tank is tight or blocked, you’ll have trouble keeping your home warm. Preparing for delivery access is often overlooked but is crucial for a successful install.
Check the path from the road to the tank. Is there enough room for a hose to reach it? Is the gate wide enough for equipment? Can a delivery vehicle park close by? Trim back shrubs and branches. Make sure steps or inclines are manageable.
Read More: The Role of Hypoallergenic Sheets in Allergy Management: A Sanctuary for Sleep
Checking Existing Heating System Compatibility
Installing a new tank might mean updating your current heating setup. If your boiler is outdated or incompatible, the install could stall. Before the tank arrives, have a technician inspect your full system.
This check includes the fuel line, the boiler, and any remote monitoring equipment. In some cases, you might need a filter or new pipework.
Planning For Safe Installation And Long-Term Use
Safety is a key part of any domestic oil tank install. This includes fire regulations, spill containment, and ventilation. Modern tanks are designed with these in mind, but the install process must still follow the rules.
Depending on the tank’s size and location, you may need a bunded tank—one with a built-in secondary wall to catch leaks. Some areas also require fire barriers or fencing. Make sure these elements are included in the plan.
Conclusion
Getting ready for a domestic oil tank install doesn’t have to be overwhelming. With the right groundwork—literally and figuratively—you set the stage for safe, efficient heating for years to come. Think ahead, follow the guidelines, and work with experienced professionals. Good preparation saves time, prevents issues, and keeps your home warm when it matters most. It’s all about getting the details right from the start.